Constructive Process Of Reinforced Adobe DWG Detail for AutoCAD
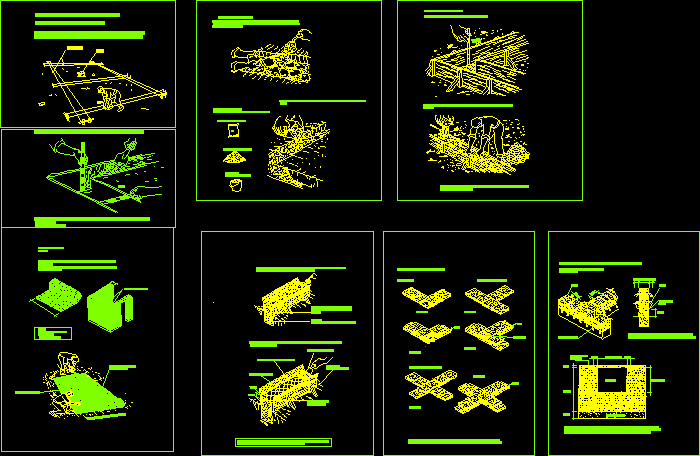
Reinforced adobe – Material employee – Measures of adobe – Process of preparation – Details
Drawing labels, details, and other text information extracted from the CAD file (Translated from Spanish):
chalk, twine, step clean level the area on which to build the mark the walls with chalk according to the plan, how to draw the excavation, construction of the foundations of the building, a minimum depth of cm was required., Note: The base of the foundation must rest on firm ground, not on loose ground fill, a bag of cement, concrete cans, little water, step to empty the trench fills to the ground, how to make the mix this is the proportion to fill the trench, step make a bed of mixture places stones then add more mixture to make a foundation type pirca more stone than, how to make the foundation, Sun, how to make the step step places the tables a height of, full step cm. the overlay with layers of mixture medium stone, remember that the quantity of medium stones must be the fourth part of the total volume, mesh overlap, how to strengthen the walls:, step reinforces the walls with plastic geogrids in each geogrids come in rolls you must cut according to the plans, note: with the geogrids all the walls will be wrapped, strand anchor strip, fringe for walls, flat floor to stretch roll, remember that you must tie the strip of ragged anchor mesh to the vertical meshes on each face of the walls, second layer of overdrive, grated iron, cm anchor strip, asphalt brush, overlapping formwork, step adds on the meshes the second overlay layer applies the finished., first layer of fresh mixture medium stone, foundation mix with large stone, step fix the meshes to the surplus places medium stones of this the meshes will not rise., remember that you must make an emplantillado of the average adobe trees for the first second row. the mortar must be of, row, if I meet cross, row, row, corner case, if I meet at, emplantillado agreement plans:, raffia, mesh anchor, the length of the raffia is to be left over on each side honey wall to tie the mesh, overcoming, raffia, maximum, upper collar beam, window, maximum, overcoming, remember that the raffia should be placed in the immediate lower row the bottom of the window. On both sides of the openings the raffia is started by placing cm., adobe, leave raffia tapes horizontally, place the raffia to join the meshes as follows:
Raw text data extracted from CAD file:
| Language | Spanish |
| Drawing Type | Detail |
| Category | Construction Details & Systems |
| Additional Screenshots |
 |
| File Type | dwg |
| Materials | Concrete, Plastic |
| Measurement Units | |
| Footprint Area | |
| Building Features | |
| Tags | adobe, autocad, bausystem, construction system, constructive, covintec, DETAIL, details, DWG, earth lightened, employee, erde beleuchtet, losacero, material, Measures, plywood, preparation, process, reinforced, sperrholz, stahlrahmen, steel framing, système de construction, terre s |

