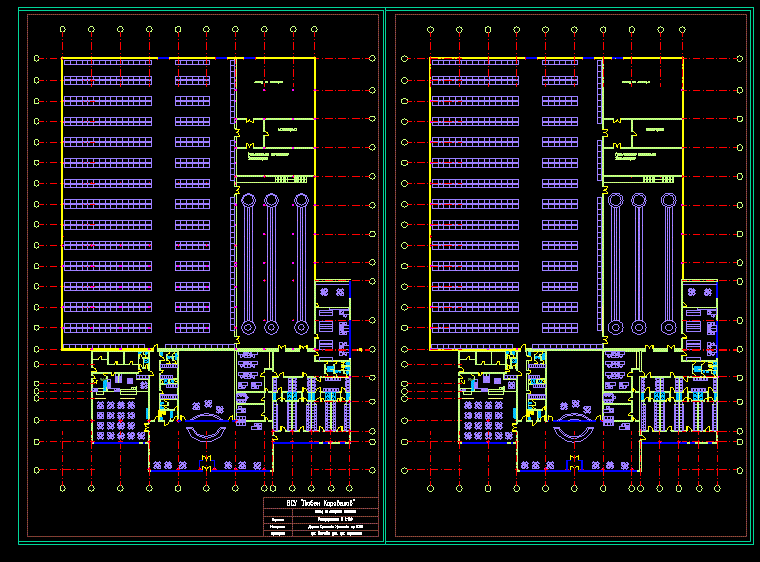
Volkswagen Warehouse DWG Detail for AutoCAD

Industrial building for Volkswagen dealership – Structural Development – reticulated metal structure – Plants – Construction details
Drawing labels, details, and other text information extracted from the CAD file (Translated from Spanish):
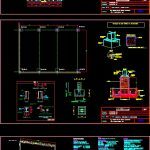
detail a, space for mortar, expansive leveling, bolt, anchor, pillar, metal, support plate, and anchor, nut and lock nut, to level heights e, inclinations, base plate, smaw, elevation, side view, bolts anchor, section a – a, orientate anchor to the center of the plate, dwarf, concrete, section by dwarf, rough finish, lower reinforced, shoe, support blocks, grill, concrete, cleaning, bolts, metal pillar , section, plant :, owner :, plane :, designer :, project :, cype software license, location and dimensions of foundations, ing. andrés felipe guzmán cifuentes, automotive, automotive, unions and truss detail, structural plant and specifications, volkswagen reception cover, volkswagen reception structure, concrete: specifications, reinforcement, stirrups, main, reinforcement :, corrugated wire, electrowelded mesh :, steel equivalency chart, d in., hook, -localization: Medellin, -seismic hazard zone: intermediate, -use group: normal occupation, -structural system: combined, seismic parameters :, design loads :, coating :, floor :, -the length of the steel includes the hooks, -before making any structural change, please consult with the calculator engineer, do not take measures at scale, structural, take precedence those of the plans, -if present difference of heights and, levels between architectural plans and, approved by the engineer of floors., architectural., -the level of the bearing stratum must be, -the design and calculation of foundations are rigi eron, based on the study of floors elaborated by, vieco engineering of soils, -all the measures are given in meters ,, -is convenient to place stirrups constructive, -only it is allowed to weld the reinforcement ,, -where no hook is specified, use standard hook, unless other unit is indicated, where it is not indicated in the plans., general:, references and symbology, for the representation of the symbols of welds are considered the indications of the standard, examination ‘., method of representation of welds, the following scheme of representation of a weld is developed :, references :, s: depth of the bevel. in welds at an angle, is the side of the weld bead., l: effective length of weld bead, d: supplementary data. In general, the series of electrode to be used, and the pre-qualified welding process, the information related to the side of the welded joint to which the arrow points, is placed by, below the reference line, while for the opposite side, indicated above the reference line, where :, designation, illustration, symbol, angle welding, butt welding in single bevel, butt welding in double bevel, butt welding in single bevel with bead wide root, weld combined butt in single and angled bevel, butt welding in single bevel with curved side, beam, gusset, stiffener, section b – b, automotive truss, tip, perimeter beam detail, threaded rod templates
Raw text data extracted from CAD file:
| Language | Spanish |
| Drawing Type | Detail |
| Category | Industrial |
| Additional Screenshots |
 |
| File Type | dwg |
| Materials | Concrete, Steel, Other |
| Measurement Units | Metric |
| Footprint Area | |
| Building Features | Deck / Patio |
| Tags | autocad, building, DETAIL, development, DWG, factory, industrial, industrial building, metal, plants, reticulated, steel structure, structural, structure, warehouse |
